Deploying KopiCloud AD API from AWS Marketplace»
![]()
Deploying an EC2 Instance with KopiCloud AD API from AWS Marketplace
Select the KopiCloud AMI»
To deploy an AWS EC2 Instance With KopiCloud AD API from the AWS Marketplace image, follow the procedure below:
1) Open the Amazon EC2 console at https://console.aws.amazon.com/ec2.
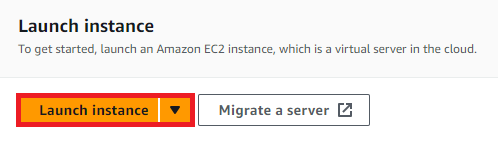
2) From the Amazon EC2 console dashboard, choose Launch instance.
3) Under Application and OS Images (Amazon Machine Image), type kopicloud and click on Browse more AMIs link.
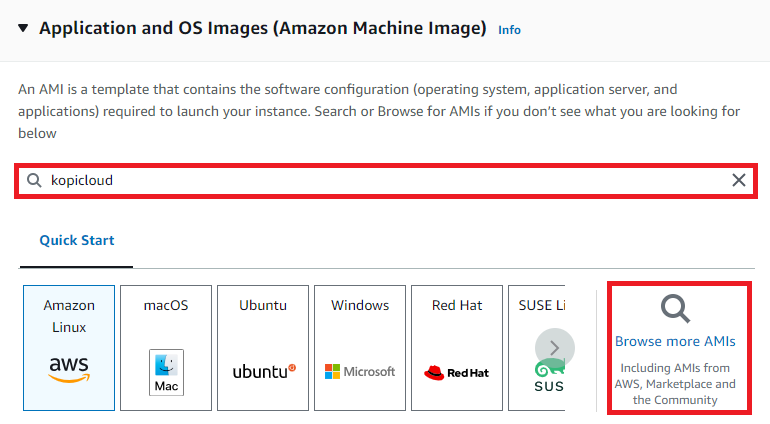
4) Choose the AWS Marketplace AMIs tab to show all KopiCloud AMIs available:

5) To choose the right KopiCloud AD API product version for you, choose the Select button next to the operating system.
A dialog box opens with an overview of the version of the KopiCloud AD API you've selected.
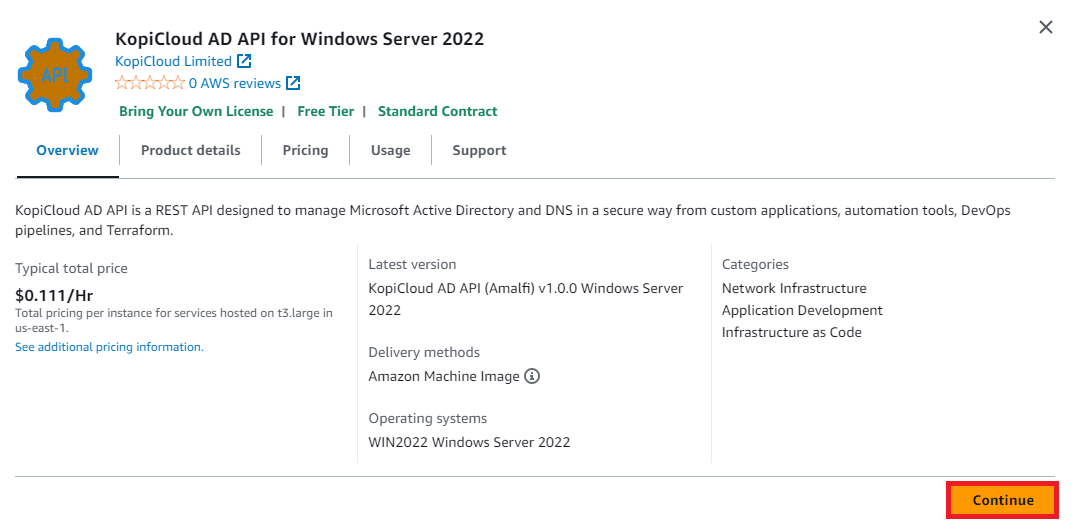
Note: You will only pay AWS EC2 costs as the KopiCloud AD API license in AWS is BYOL (Bring your own license).
Configure the EC2 Instance»
After we selected the image, we need to configure the EC2 Instance
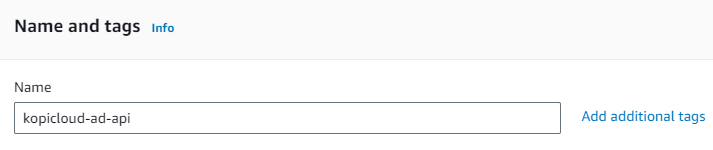
1) Under Name and tags, for Name, enter a descriptive name for your instance.
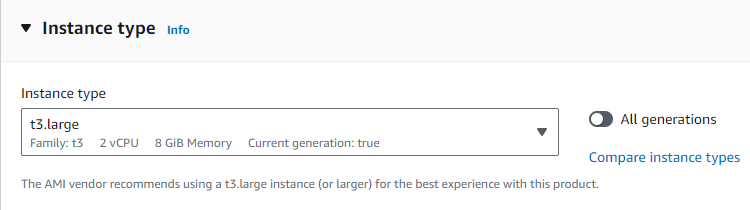
2) For Instance type, select an instance type for your instance. T3.Medium or T3.Large is recommended for the setup.
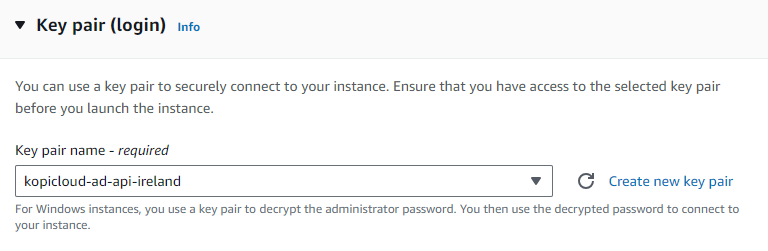
3) Under Key pair (login) section, for Key pair name, choose an existing key pair or create a new one.
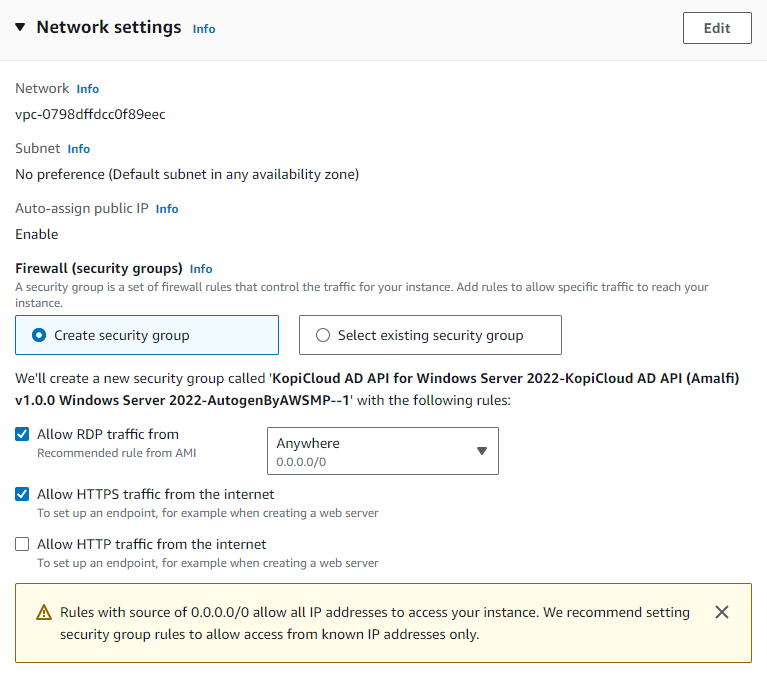
4) Under Network settings, Firewall (security groups), please review the new security group that was created for KopiCloud AD API.
The security group includes rules that allow all IPv4 addresses (0.0.0.0/0) access on RDP (port 3389) on Windows.
Note: We recommend adjusting these rules to allow only a specific address or range of addresses to access your instance over those ports.
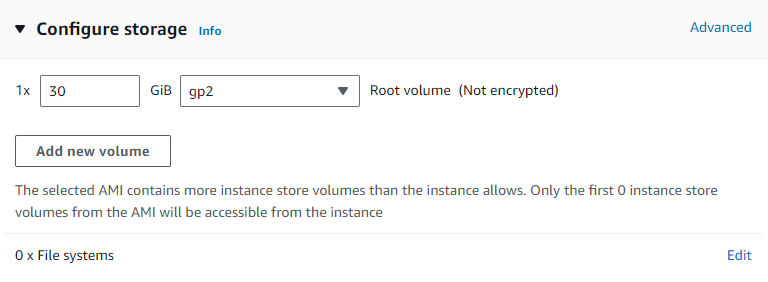
5) In the section Configure storage, you can keep or increase the 30 GB default size.
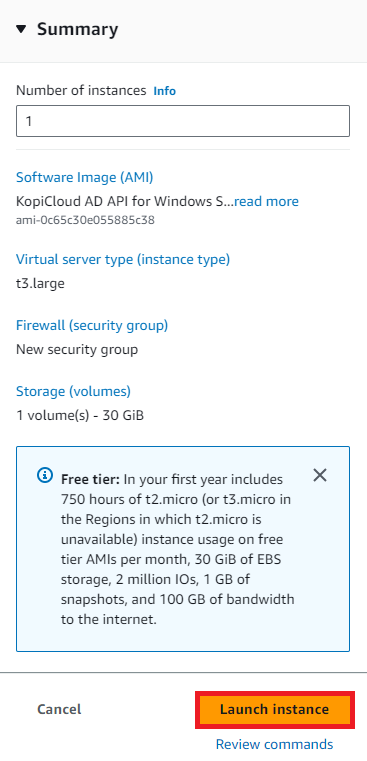
6) In the Summary panel, under Software Image (AMI), check the details of the AMI from which you're about to launch the instance.
Also, check the other configuration details that you specified. When you're ready to launch your instance, choose the Launch instance button.
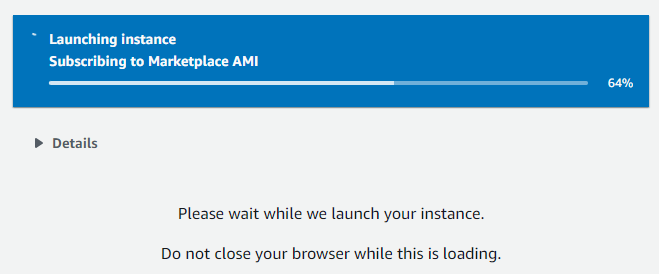
Depending on the product you've subscribed to, the instance might take a few minutes or more to launch.
You are first subscribed to the product before your instance can launch.
If there are any problems with your credit card details, you will be asked to update your account details.
When the launch confirmation page displays, choose View all instances to go to the Instances page.
Final Steps»
After the EC2 instance is launched, you need to complete the final steps:
1) Generate a free trial license at https://adapi.kopicloud.com/get-license
2) When the machine is ready, retrieve your initial administrator password using the AWS CLI or AWS Console.
In the AWS Console, select the new instance, then click on Actions menu, select Security, and then Get Windows password.
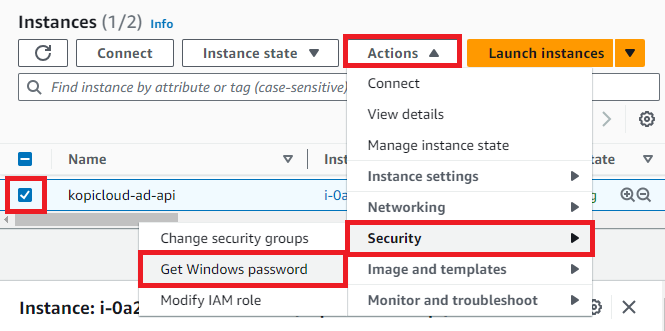
Follow the instructions to retrieve the password.
3) Log in to the EC2 Instance using the default Windows username (Administrator) and the password retrieved in the previous step.
4) Join the EC2 Instance to the AD Domain that we will manage using the API and restart the machine.
Note: Based on the VPC and Subnet configuration, extra steps may be required to join the machine to the domain.
5) Run the KopiCloud AD API Config tool located in the folder C:\KopiCloud-AD-API-Config to finish the setup of the API.